
This article covers these topics:
- About location-based projects
- Enabling location-based triggering on a project
- Adding Geo-fences
- Geo-location reports
About location-based projects
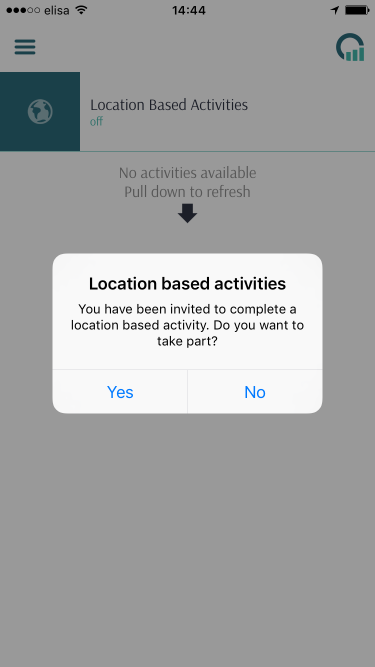
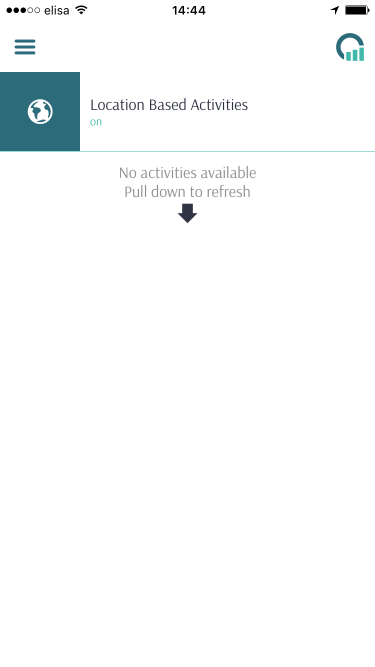
This feature allows you to control whether the project is visible to respondents, based on their location. It allows you to set up a virtual perimeter, or Geo-fence, around one or more set locations. Respondents will be prompted to allow the app to track their location. Whenever they enter or exit the set perimeter, they will receive a notification that a survey or diary entry is available for completion. Once an entry has been made the survey/diary will disappear, but can re-appear based upon set trigger events. Respondents can disable location-based activities from the app settings, which then disables the notifications; in this situation, they will not see the location-based survey or diary.
Enabling location-based triggering on a project
To enable location-based triggering:
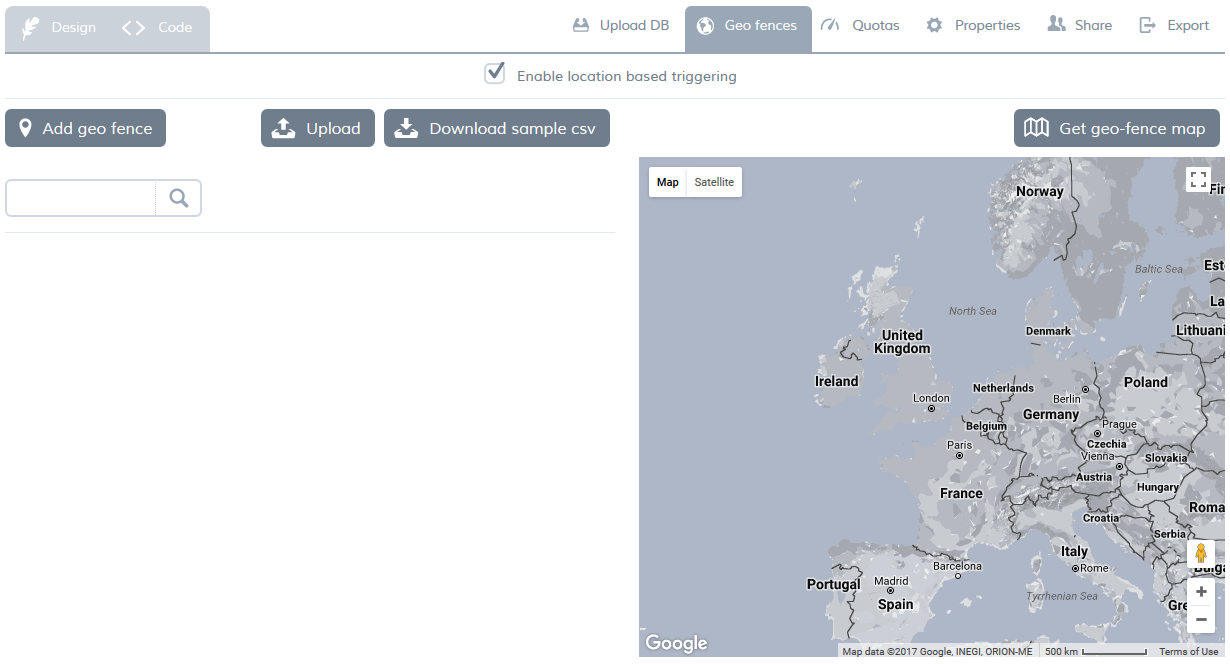
- When your project is open, click geo fences.
- Select enable location based triggering.
- Add specific Geo-fences, as described below.
Adding Geo-fences
There are two ways to add Geo-fences:
-
as a bulk import, from a CSV file. You can download a sample CSV file which contains mandatory fields and a few examples. You can use this as a template to create your own file. When you have created your file, click upload, then, in the dialog that opens, click choose file, select your CSV file, then click upload.
- one a time. Click add Geo fence and fill in the required fields.
Once you have added the Geo fences, you can click get Geo-fence map to see the fences, which helps you define the radius of your fence.
Geo-fence attributes
|
Fence attribute |
Description |
Value | explanation |
|---|---|---|---|
name |
Name of the location. This is only used for information purposed, to help identify the location. |
Helps identify the fences, which can be used in filtering the report. | |
trigger_message |
Notification text when the survey is triggered. | This message is displayed as a notification, it is recommended to keep this message within a reasonable length. | |
latitude |
The latitude of the Geo fence which will trigger the survey. |
||
longitude |
The longitude of the Geo fence which will trigger the survey. |
||
radius |
The radius of the Geo fence in meters. |
>200m |
Minimum radius is 200 meters. There is no maximum limit for the radius of a fence. However, it is recommended that you avoid large fences, which could lead to overlapping. |
trigger_event |
The trigger event of the Geo fence. | "entry", "exit" |
This option determines how the fence triggers the event.
This option can be used in tandem with the option timer_type (see below) to control how long the respondent must stay within the fence before the event is triggered. Please refer to the description of timer_type for an explanation of each possible combination of these two options. |
timer_type |
The timer type | "regular", "dwell" |
This option is used in tandem with the option trigger_event (see above), to determine how long the respondent must stay within the fence before the event is triggered. The various allowable combinations of these two options are as follows:
|
timer_value |
Duration, after which the survey is triggered. | in seconds | Timer value is an important attribute. The value should depend on the nature of the location and the type of the trigger. |
max_triggers |
Maximum number of trigger notifications | Integer | The maximum number of notifications a respondent can receive. The device will not send any more notifications once this number is met. Leaving this blank will trigger a notification every time the trigger criteria is met. |
Geo-location reports
You can create reports that allow you to visualize triggering locations. For details, see Geo-location reports.