This article covers these topics:
Style is the second step in the creation of a project. It enables you to customise how your project will look on respondents' devices. You can define the colour scheme and set a project icon.
On the left, there is a list of existing styles. At first, there will only be the default style in your account but as you create additional ones they will be added to the list. These styles can be quickly applied to your projects, saving you time, and ensuring consistency between your projects.
To apply a style to your project, simply click it.
You can modify an existing style, including the default one, to create your own custom style.
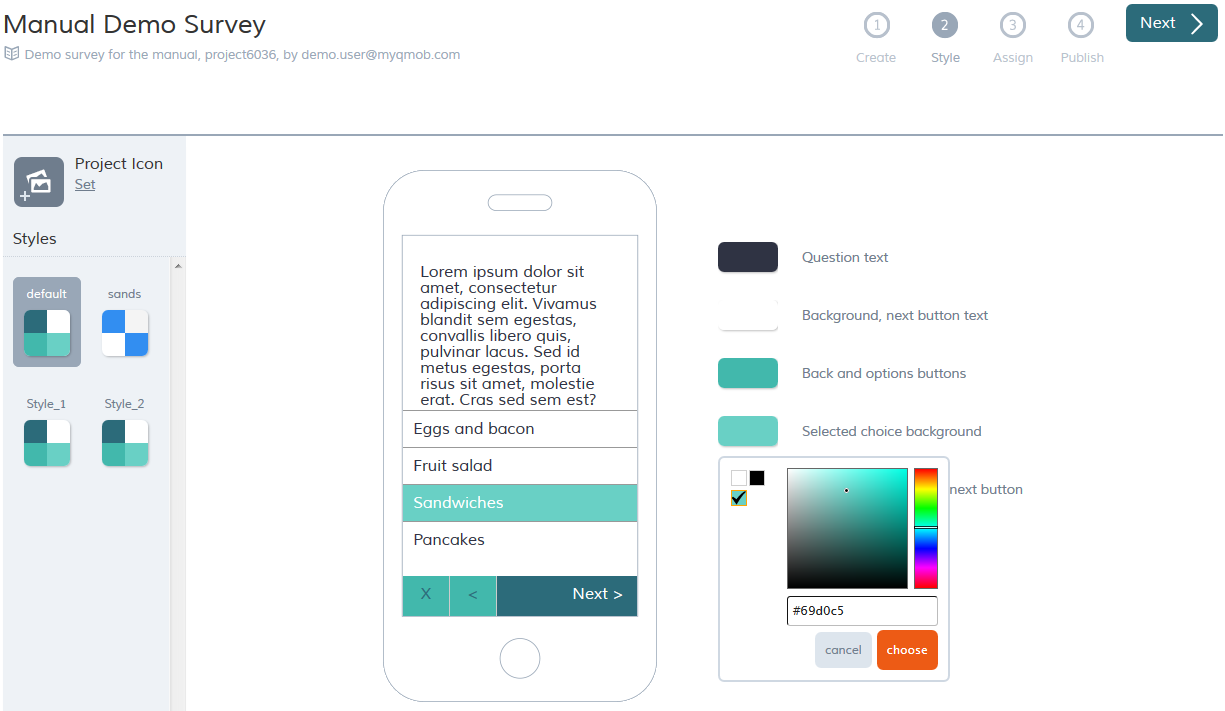
Customizing a style
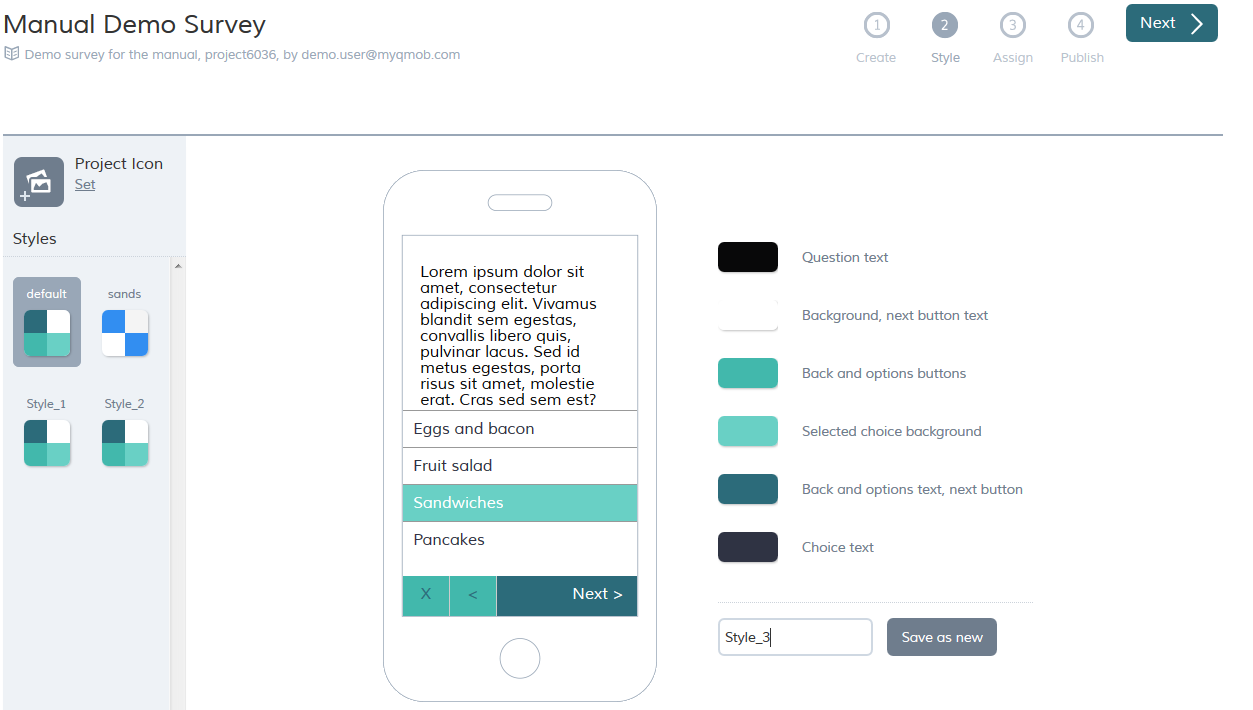
By clicking the colour blocks in the list of the elements on the right, you can change the colour of that element.
To select a colour, either use the colour picker or enter a hex code for more precision.
Once you are satisfied with the colour scheme you have created, you can save it as a style. To save the theme, enter a name and click save as new.
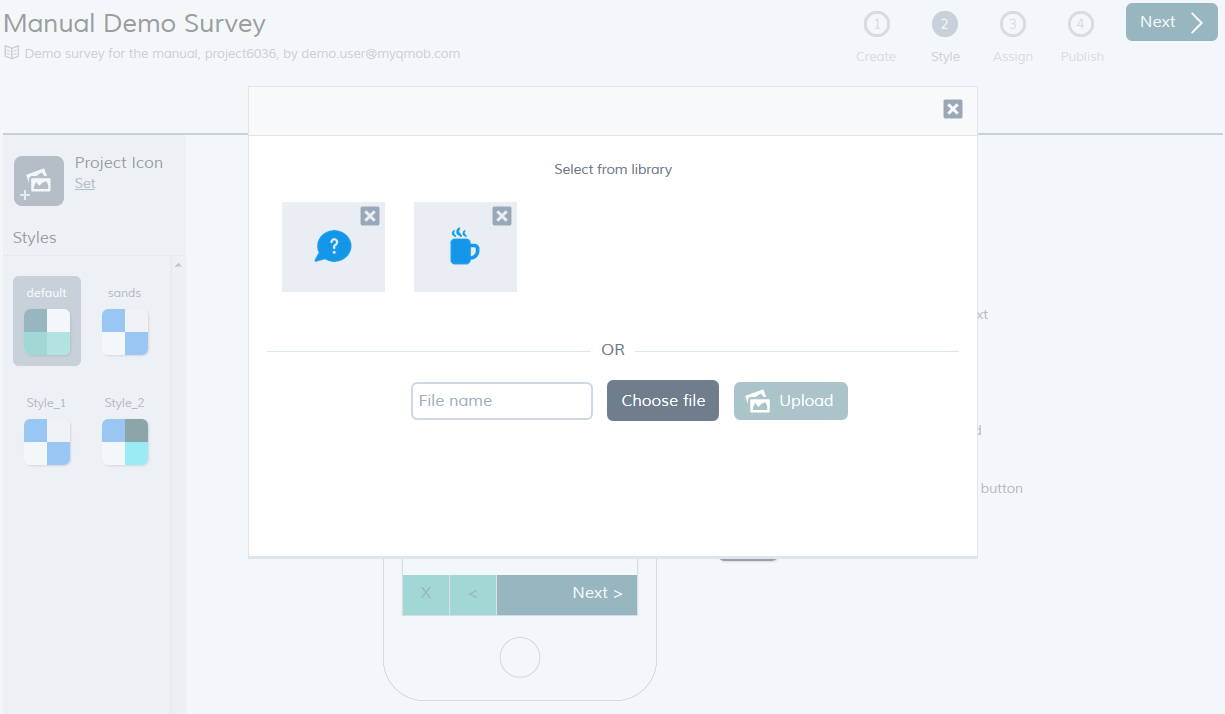
Setting a Project Icon
To set the project icon:
- In the top left area of the style screen, click set.
- Click choose file.
- Select the file you wish to use as an icon. It should be sized at least 80x120 pixels.
- Click upload.